Curved monitors offer a unique, immersive experience that enhances productivity, gaming, and multimedia enjoyment. However, understanding their measurements such as screen size, curvature radius, and aspect ratio is essential for selecting the right model and optimizing setup. Unlike flat screens, curved monitors are designed to align with the natural field of view, but measuring them can be challenging due to their shape. This guide explains key factors like diagonal screen measurement, curvature radius (e.g., 1000R, 1800R), and aspect ratios, and answers common questions to help users get the most out of their monitor’s performance. With practical tips on viewing distance and settings, this article provides a complete look at what to consider when measuring and setting up curved monitors for the best viewing experience.
Understanding Curved Monitors
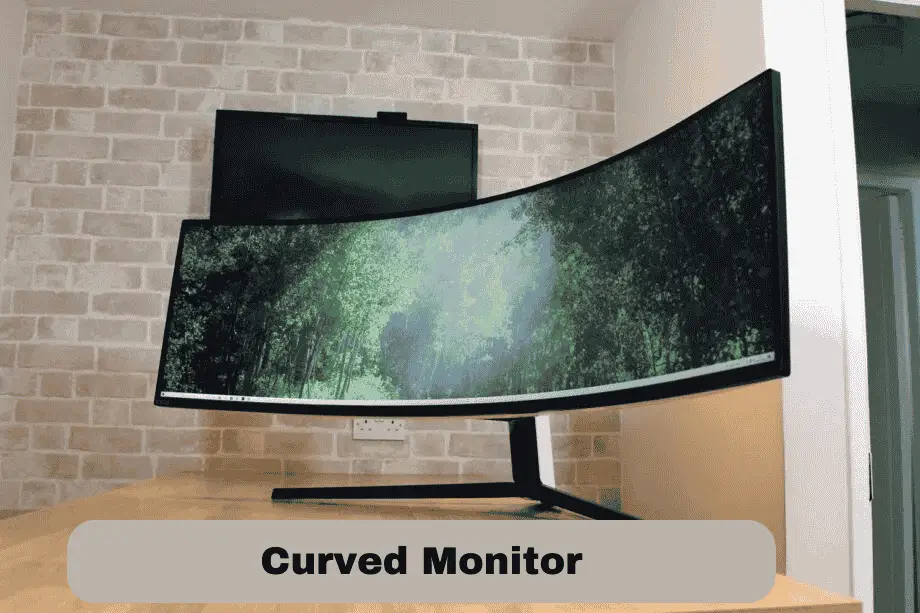
Curved monitors have become popular in recent years, especially for gaming, multimedia, and professional work. Unlike traditional flat monitors, curved monitors feature a concave screen, typically defined by their curvature radius (e.g., 1800R, 1500R, or 1000R), indicating how pronounced the curve is. This design allows for a more immersive viewing experience, as the curve matches the natural shape of the human eye, reducing the need for eye movement across a large screen. As a result, users can benefit from better field of vision coverage, especially with monitors larger than 30 inches or ultra-wide aspect ratios like 21:9 and 32:9. Curved monitors are generally ideal for tasks requiring detailed visual engagement, such as design, CAD, or gaming. Their recent growth in popularity has made them accessible in various sizes, resolutions (1440p, 4K), and refresh rates (60Hz, 144Hz, 240Hz), providing options for different user needs.
What Are Curved Monitors?

Curved monitors are display screens designed with a concave shape, allowing users to experience a wider field of view. The curvature radius measured in units like 1000R, 1500R, or 1800R represents how curved the screen is, with smaller values indicating a more pronounced curve. Curved monitors were developed to reduce visual distortion at screen edges and match the eye’s natural curvature, enhancing immersion. Available in resolutions from Full HD to 4K and refresh rates up to 240Hz, curved monitors are commonly used for gaming, multitasking, and media consumption. By wrapping around the user’s peripheral vision, curved screens help minimize eye strain and allow for more engaging viewing, especially when paired with technologies like HDR, FreeSync, or G-Sync.
Benefits of Curved Monitors Over Flat Monitors
Curved monitors offer several advantages over traditional flat screens, particularly in terms of immersive experience and visual comfort. Due to their shape, curved monitors provide a broader field of view, reducing peripheral distractions and allowing users to focus more effectively on the screen’s center. Studies suggest that curved monitors reduce eye strain by limiting the need for eye movement across wide screens. This benefit is especially noticeable on larger screens (e.g., 32 inches or more) and ultra-wide models with aspect ratios like 21:9. Additionally, curved monitors can improve the depth of field perception, enhancing the experience in tasks such as gaming, video editing, and CAD design. When paired with high refresh rates, resolutions, and adaptive-sync technology, curved monitors can deliver a smoother, more realistic viewing experience, benefiting both casual users and professionals.
Key Measurements for Curved Monitors
Understanding the key measurements of curved monitors is essential when choosing the right monitor for specific tasks. Measurements like screen size, curvature radius, and aspect ratio all impact user experience. The screen size, typically measured diagonally, is one of the most common specifications. In curved monitors, the curvature radius, such as 1000R or 1800R, indicates how sharply the screen curves. A lower number, like 1000R, reflects a more pronounced curve, aligning more closely with human peripheral vision. Additionally, aspect ratios such as 16:9, 21:9, or 32:9 effect both viewing angles and screen width. For example, ultra-wide ratios like 21:9 or 32:9 offer a broader field of view, enhancing immersion for gaming and multitasking. By understanding these measurements, users can make informed choices based on specific requirements for work, gaming, or media.
Measuring Screen Size: Diagonal vs. Width and Height
Screen size in monitors is generally measured diagonally from one corner to the opposite corner, a method that provides a single, standardized measurement across devices. For curved monitors, this diagonal measurement can sometimes be misleading in terms of actual usable screen area, especially with more pronounced curves (e.g., 1000R or 1800R). To fully understand the screen size, users should also consider width and height, which indicate the monitor’s physical dimensions. This distinction is particularly helpful when fitting monitors in smaller spaces. For example, a 32-inch curved monitor will have different width and height than a flat 32-inch monitor due to the curve. Knowing both diagonal and width-height measurements allows for better planning in setting up a workspace or gaming area, ensuring compatibility with the monitor’s physical footprint.
Understanding Aspect Ratios in Curved Monitors
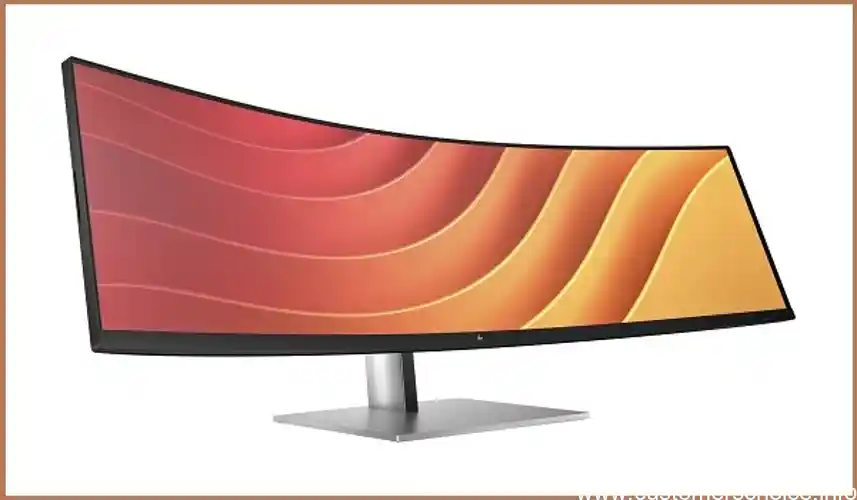
Aspect ratio defines the proportional relationship between a monitor’s width and height, playing a crucial role in the viewing experience. Common aspect ratios for curved monitors include 16:9, 21:9, and 32:9, each offering unique advantages. A standard 16:9 ratio is suitable for general use, providing a balanced field of view. The wider 21:9 ratio, however, is popular in gaming and multitasking, as it expands horizontal screen space, allowing users to view more content simultaneously. For the most immersive experience, 32:9 ultra-wide aspect ratios are ideal, resembling the combined view of two 16:9 screens. This extended horizontal range enhances tasks that require a broad visual field, like video editing or CAD work. By selecting an aspect ratio that matches the intended use, users can maximize both productivity and engagement.
Tools and Techniques for Measuring
Accurate measurement of a curved monitor requires specific tools and techniques to capture dimensions like screen size, curvature radius, and aspect ratio correctly. Essential tools include measuring tapes, preferably flexible ones, for the curved surface, and a protractor for precise angle assessments. Digital measurement tools, like laser distance meters, can also enhance accuracy, especially on larger screens. Techniques for measurement often involve measuring the diagonal screen length, width, and height, as well as understanding the curvature radius (e.g., 1000R, 1800R). These values impact viewing comfort and immersion, so ensuring accurate measurements can help users choose the right setup for their needs. By applying the correct tools and techniques, users can create an optimized workspace, ensuring the monitor fits both physically and functionally within their setup.
Essential Tools for Accurate Measurement
To measure a curved monitor accurately, certain tools are essential. A flexible measuring tape is highly useful for measuring the screen’s curved surface and diagonal length. A protractor can assist in assessing the curvature radius, particularly if you need to verify specifications like 1000R or 1800R. For added precision, a laser distance meter can help capture width and height measurements, especially on larger screens. A digital angle finder may also be helpful for ultra-wide monitors, ensuring that curvature and display angles align with user needs. By using these tools, users can gain precise measurements of both the screen and its curvature, allowing for a better understanding of how the monitor fits into the workspace and enhancing overall viewing comfort.
Step-by-Step Guide to Measuring Your Curved Monitor
- Measure Diagonally: Start by measuring the screen size diagonally from one corner to the opposite corner, using a flexible measuring tape. This provides the screen’s primary size in inches.
- Width and Height: Measure the width and height of the screen, which helps confirm aspect ratio dimensions, especially on ultra-wide monitors.
- Check Curvature Radius: Use a protractor or check the monitor’s manual for the curvature radius (e.g., 1000R, 1800R), as it affects the field of view.
- Adjust for Setup Needs: Consider additional measurements for positioning and desk space, ensuring a comfortable viewing distance.
Following these steps can ensure you achieve precise measurements for optimal setup and usage, enhancing your monitor’s ergonomic and visual benefits.
Practical Considerations
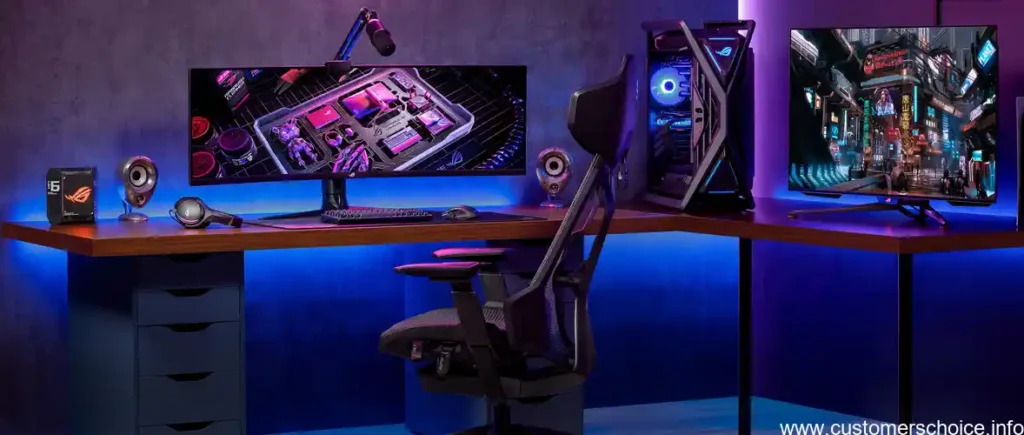
When using a curved monitor, practical considerations like viewing distance, position, and display settings play a key role in achieving optimal performance and comfort. Curved monitors are designed to match the natural curvature of the human eye, which enhances immersion and reduces eye strain. However, to fully benefit, users need to sit at the recommended viewing distance based on the monitor’s curvature radius (e.g., 1000R or 1800R). Correct positioning also matters, as it minimizes reflections and ensures a balanced field of view. Additionally, adjusting settings such as brightness, contrast, and color can enhance image clarity and reduce fatigue, especially during long hours of use. Considering these factors can improve the overall viewing experience, making the curved monitor more effective for gaming, design, and everyday tasks.
Importance of Viewing Distance and Position
Proper viewing distance and monitor positioning are essential for fully experiencing the benefits of a curved monitor. Curved monitors are designed with specific curvature radii, such as 1000R or 1800R, which determine the ideal viewing distance. For example, a 1000R monitor is best viewed from approximately 1 meter away to experience its full immersive effect. Sitting too close or too far can distort the image and strain the eyes. Positioning the monitor at eye level is also important, as it reduces neck strain and aligns the screen within the natural line of sight. By maintaining correct viewing distance and positioning, users can enhance comfort and clarity, particularly for prolonged activities like gaming or office work.
How to Adjust Settings for Optimal Display
Adjusting display settings is crucial for achieving the best performance on a curved monitor. Start by setting the brightness to a comfortable level; too bright can cause eye strain, while too dim reduces clarity. Adjust the contrast to highlight details without over-saturating colors. Color calibration is also key using built-in calibration settings or software can ensure accurate color representation, which is essential for photo editing or design tasks. Additionally, setting the monitor’s refresh rate to match usage needs (e.g., 144Hz for gaming or 60Hz for general work) can reduce screen tearing and motion blur. Ensuring these settings are optimized not only improves image quality but also reduces strain, making the monitor more comfortable and effective for extended use.
Common Questions About Measuring Curved Monitors
Curved monitors are growing in popularity due to their immersive viewing experience, but measuring them accurately can raise questions for new users. This section addresses some of the most common inquiries related to curved monitor measurements.
- How Do You Measure the Screen Size of a Curved Monitor?
Measuring a curved monitor’s screen size follows the same diagonal measurement method as a flat monitor. Using a flexible measuring tape, start from one corner to the opposite corner across the screen. This measurement, typically in inches, represents the monitor’s screen size, which is often listed in specifications, such as “32-inch” or “34-inch.” - What is Curvature Radius, and Why Does It Matter?
The curvature radius, marked as values like 1000R or 1800R, indicates the monitor’s curve. A 1000R monitor has a tighter curve than an 1800R, simulating a viewing experience that matches the natural field of view. This measurement helps users select the ideal monitor based on their desk setup and viewing distance. - Why is Aspect Ratio Important in Curved Monitors?
Aspect ratio, such as 16:9 or 21:9, defines the screen’s width-to-height ratio, affecting viewing experience and workspace. A 21:9 aspect ratio, for instance, offers an ultra-wide view, ideal for multitasking and immersive activities, while 16:9 is suited for standard use.
By understanding these fundamental measurements, users can make informed decisions about monitor placement, setup, and selection based on their specific needs.


